Project Number One: Stockings
Our new house has two wood burning fire places. Naturally, we need some pretty stockings to decorate the one that we are currently not using for fires. Stockings on the "used for fires fire place" is too much of a hazard for me. We do not believe in Santa 'round these parts and I'm pretty hit and miss with filling the stockings. I do often pick up a thing or two at the Target dollar spot to put in the socks. Point being, we don't need big stockings with lots of room. We like to make our stockings out of scrapbooking paper. I bought a book of it on clearance about 3 years ago at Michael's and it will take me years to use it up. Opening it up to pick stocking makings is like going to a designer fabric store and picking my faves for only pennies. You could use felt or even flannel for this particular method, if you wanted them to be sturdier, larger or hold more.
Step One: Trace the pattern of a stocking onto the paper. Use two pieces if you'd like the stocking to match front and back. If not, just use some colored construction paper for the backs. No one will know. I use an old stocking for my pattern.

Step Two: Cut out the stockings (remember to have the same patterns face front and back so that the fancy side of the paper or fabric faces outward).
Step Three: Using a hole punch, punch holes around the outside of the stocking. You can measure and make them evenly spaced if you'd like. I just punch away and so they are unevenly spaced on mine.
 Step Four: Match up fronts of backs of stockings and find some helpers.
Step Five: Cut some lengths of yarn. Either thread a large plastic needle or wrap scotch tape around one end of the yarn. The tape makes the thread hard for threading through the holes in the stocking. *

 Step Six: Sew your stockings. We used a blanket stitch for ours. It's an easy stitch for the kids to remember. Tie the thread to make a hanging hoop at the top of the stocking after you finish sewing.

 Step Seven: is optional. Cut out a shape from some other paper/fabric. We used the shape of a gingerbread man. Paste it to the front of the stocking. Write names on the shape so that the stockings are claimed.
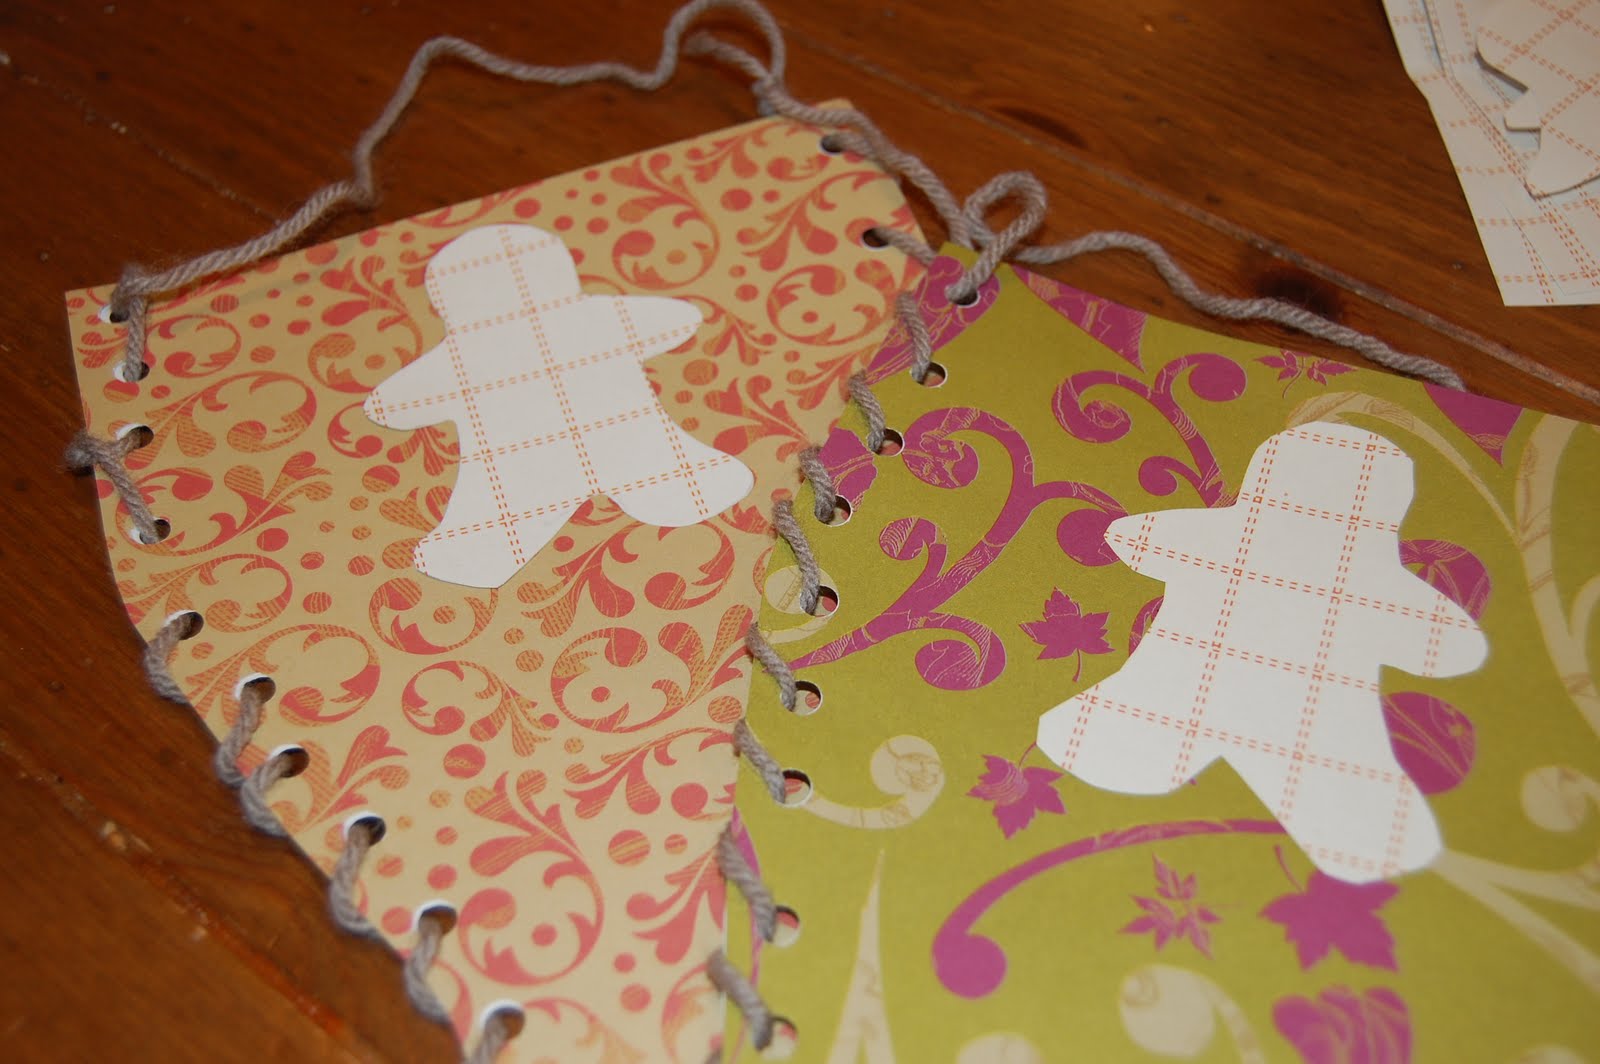 Step Eight: Hang from a mantel or on the wall.
  *I am looking for large plastic needles so that my kids can practice with a needle when we do yarn "sewing" projects like this. I searched all over Michael's and they said they don't have any. Does anyone know where I can find some?
3 comments:
how cute! Maddie wants to make one tooooo!!
I have some from kniting. Did you check that department? You can always come down and borrow some. ;) As I was reading, Mia was sitting on my lap saying, "baby No-no?" over and over and over again. cute stockings and wreath!
These are actually labelled for children, but I've seen Bates brand yarn needles with fairly round tips in the knitting/crochet section, hanging with the crochet hooks.
http://www.amazon.com/gp/product/B001E5MWQK/ref=pd_lpo_k2_dp_sr_2?pf_rd_p=486539851&pf_rd_s=lpo-top-stripe-1&pf_rd_t=201&pf_rd_i=B000Y3IVUE&pf_rd_m=ATVPDKIKX0DER&pf_rd_r=14YPQEPEWZY26PN6SBHK
Post a Comment